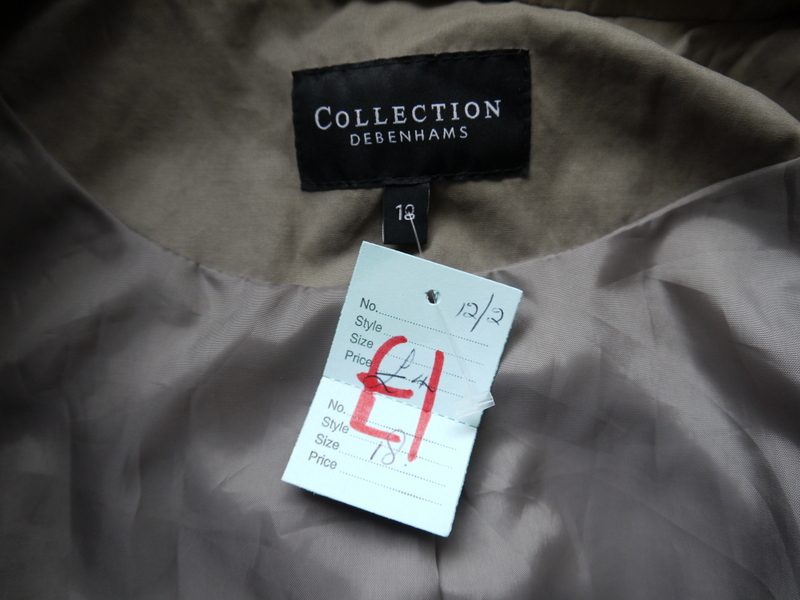
It’s amazing what you can get in a charity shop for £1…
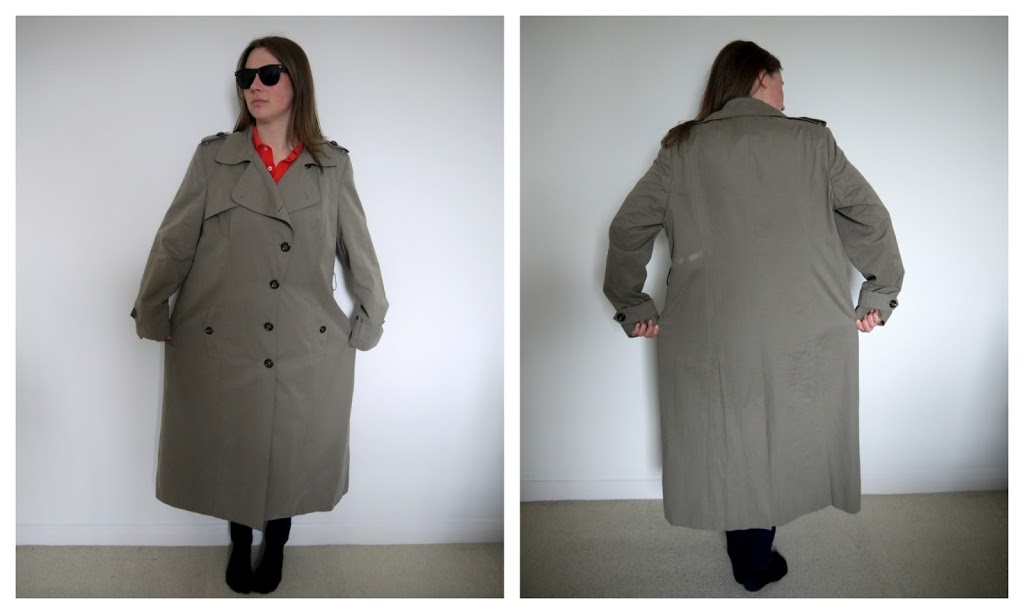
This enormous trench coat had potential, but had clearly seen better days. The size, obviously, was completely wrong for me and made me look like a spy from the 1980s and/or
Inspector Gadget! There was a white paint stain on the back, as though the previous owner had leant on a newly-painted railing. Probably the biggest problem though, was that the belt was missing. A trench coat without a belt? Now that really is a challenge.
My initial thoughts were to make this into something totally different – I was going to go for a halter-neck dress. On mulling it over though, on what possible occasion would one wear a sleeveless halter-neck dress made from really thick waterproof fabric? Final decision was that it would have to stay as a coat, but I wanted to make it look as different as possible from the original, with as many feminine features as possible.
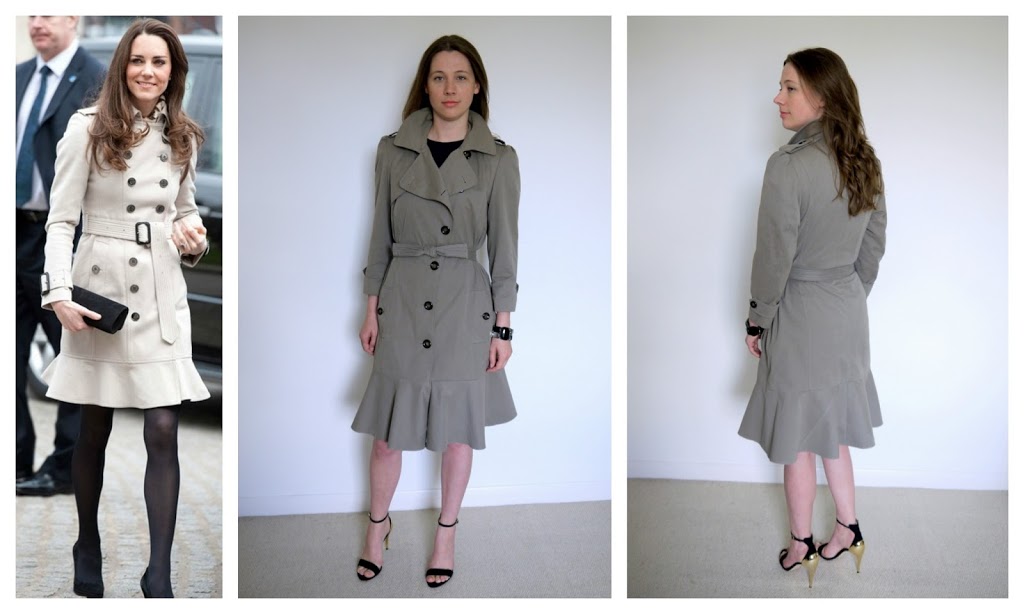
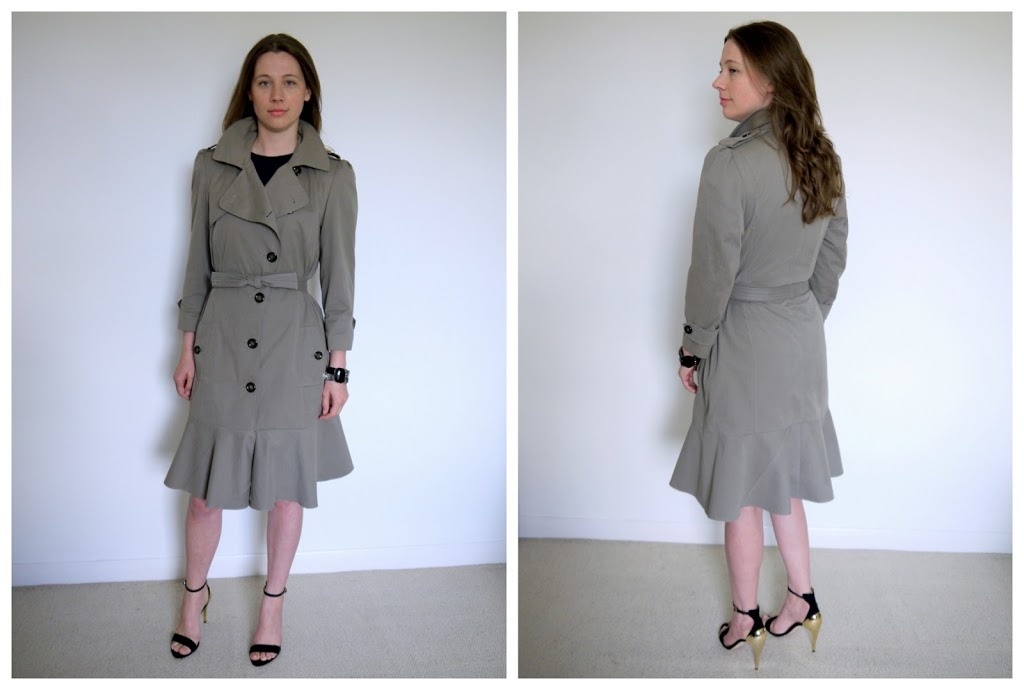
As my inspiration I’m looking at this Burberry trench coat worn by pre-pregnancy Kate Middleton – not my usual fashion icon but I love this coat! The flounce at the bottom really makes it. Here’s the final coat, which I am rather happy with!
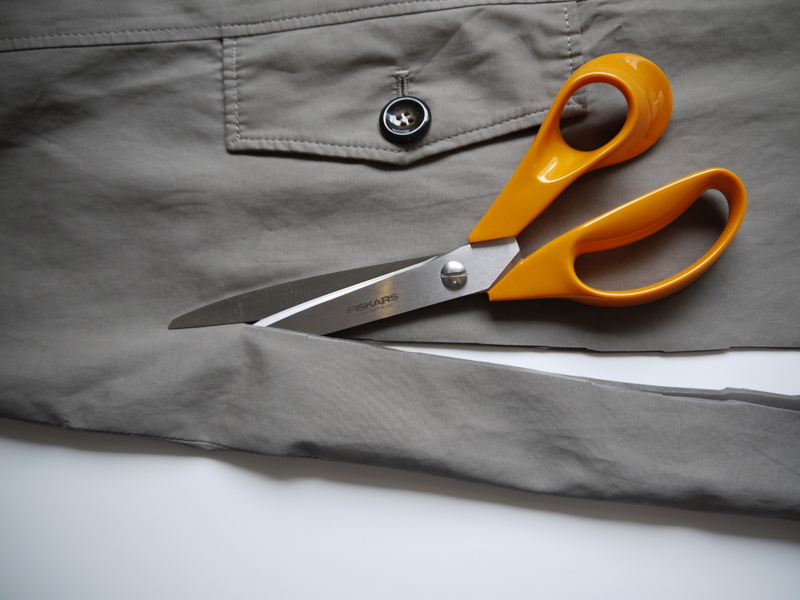
I started by cutting off rather a lot at the hem, 40.5cm less seam allowance, just below the bottom button. I cut through the coat and the lining in one go.
I then cut off the sleeves quickly, as close to the seams as possible.
I also trimmed a reasonable amount from the sides, about 6cm less seam allowance, cutting through all the layers. I pinned to check the fit before restitching the side seams in their new location. I followed the rough shape of the old coat for my new side seams, that is, ever so slightly flared out at the hips. I also sewed the new side seams for the lining.
At this stage, I fixed two of the buttons at the front that were hanging off.
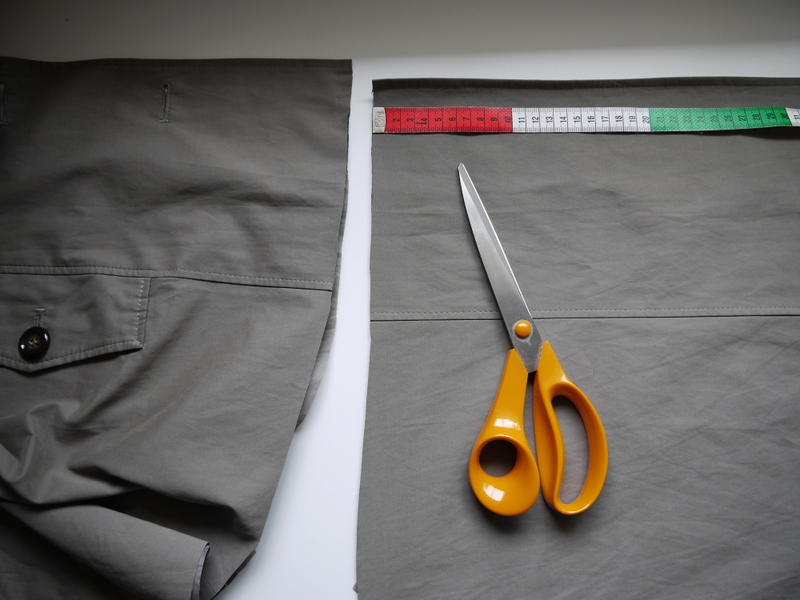
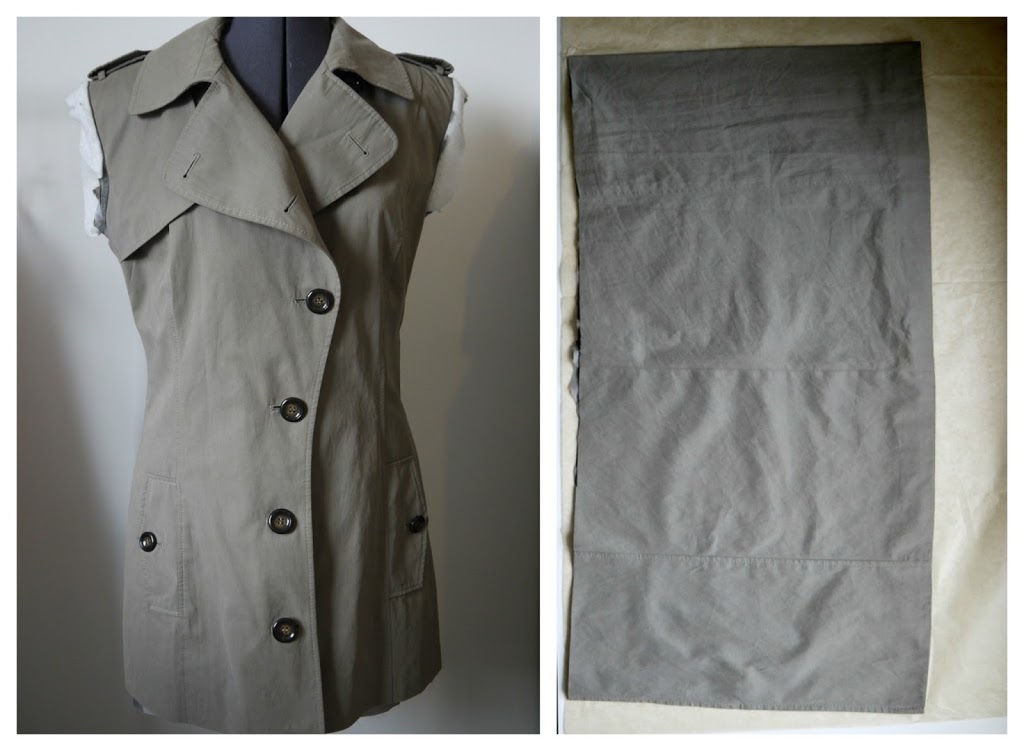
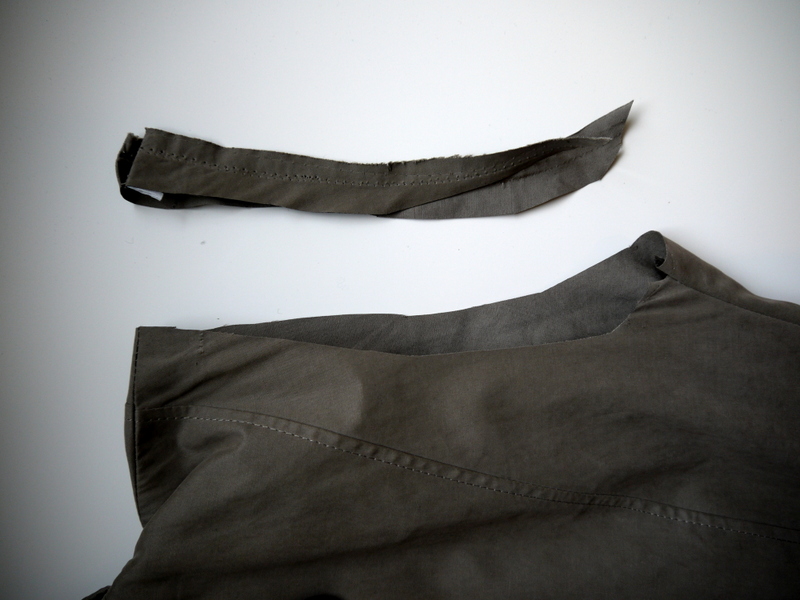
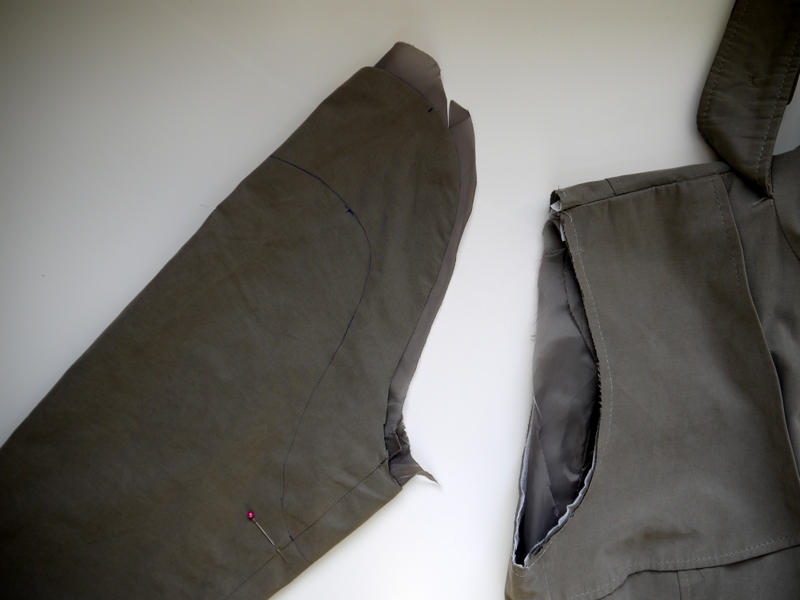
Here’s what I was left with; (below left) a good solid base for putting the whole lot back together.
Next, the most exciting part – the flounce! In order to draw my pattern, I needed to know how much material I had to play with. I folded the offcuts from the bottom of the coat in half, and drew around it on tissue paper. (above right) I then folded it in half again, so I’m working with a quarter of the finished flounce.
Then, working within the lines, I drew a rough circular arc. It was looking too tight, so I redrew it going slightly outside the lines on one side and was much happier. I made my flounce about 20cm deep, and it ended up having a corner pieced together. Because the rest of the flounce has seams through it from the original coat, the pieced-on part looks perfectly fine.
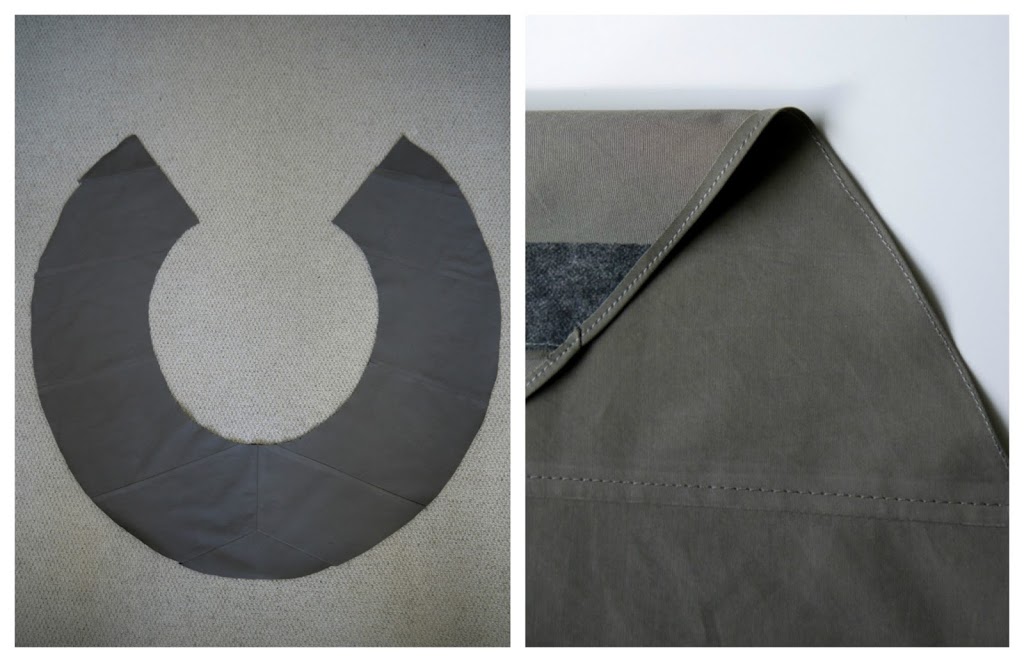
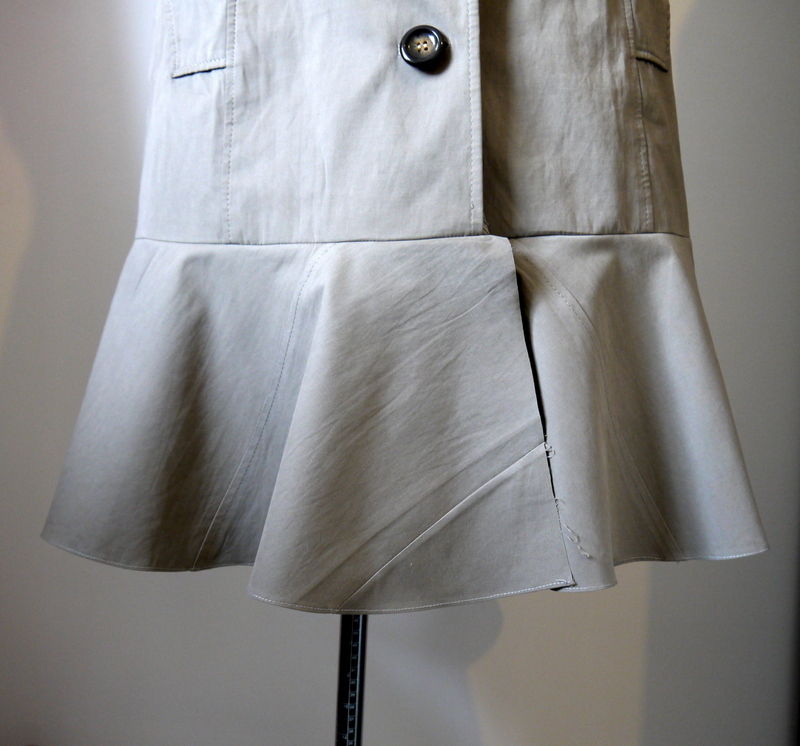
Here’s the shape of the whole thing. I did a very tiny hem at the bottom. I was going to do a rolled hem, but turning under once seemed to be enough so I left it like that.
After attaching the flounce, the coat was starting to take shape. Here’s a close up, taken before I finished the straight edges of the flounce.
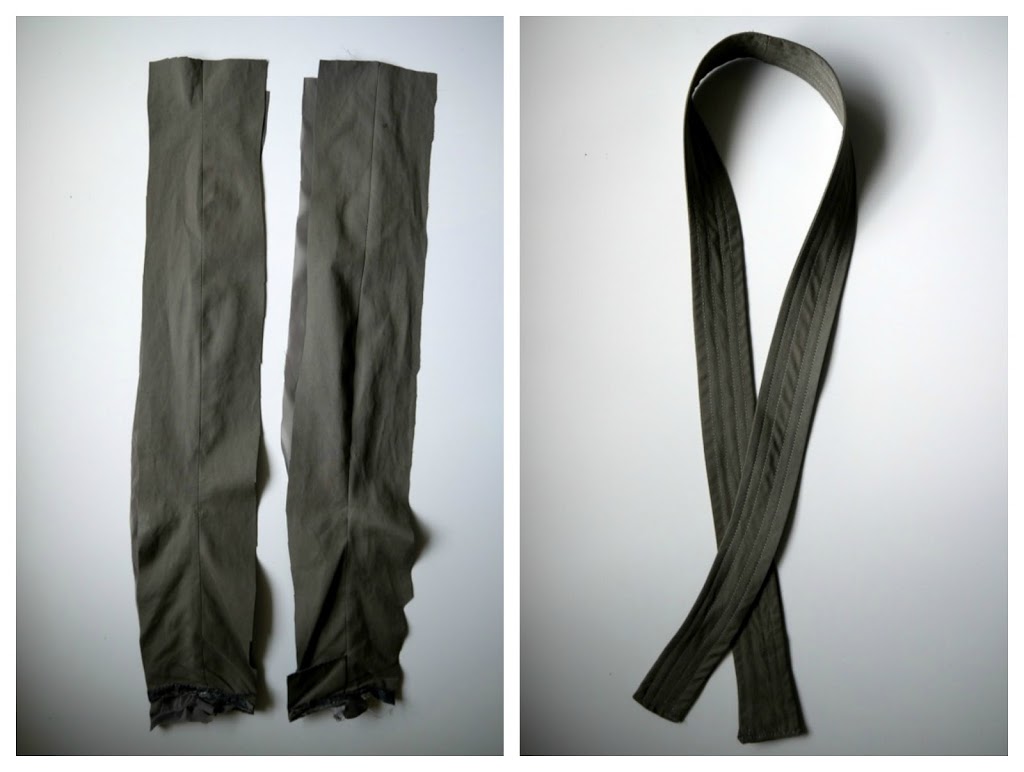
Now, to tackle the belt. I used the slightly curved sections I cut off the sides – I basically added some interfacing, sewed them together, turned the loop and added some rows of topstitching.
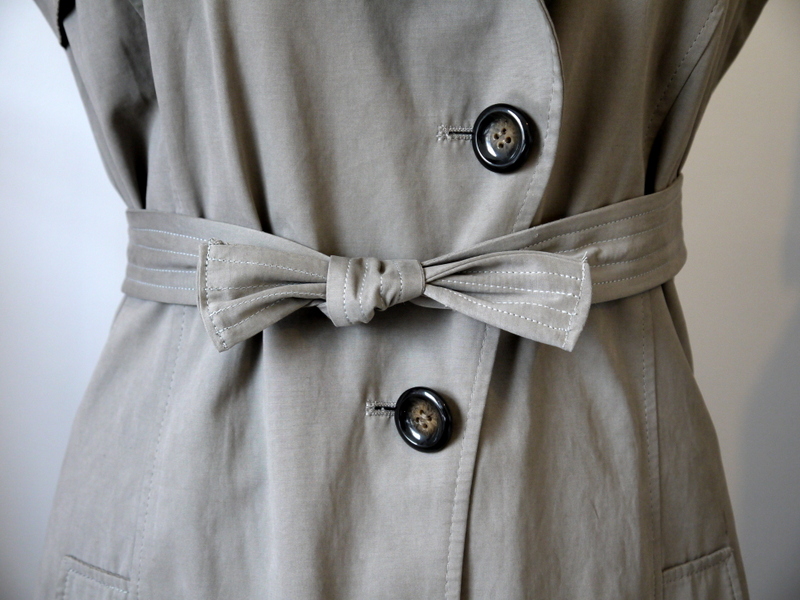
The resulting belt is so short! It just about fits around my waist. Obviously I haven’t got a belt buckle, but I worked out that if I tie it twice it takes on a bow shape, rather unexpectedly adding another feminine feature. I rather like it!
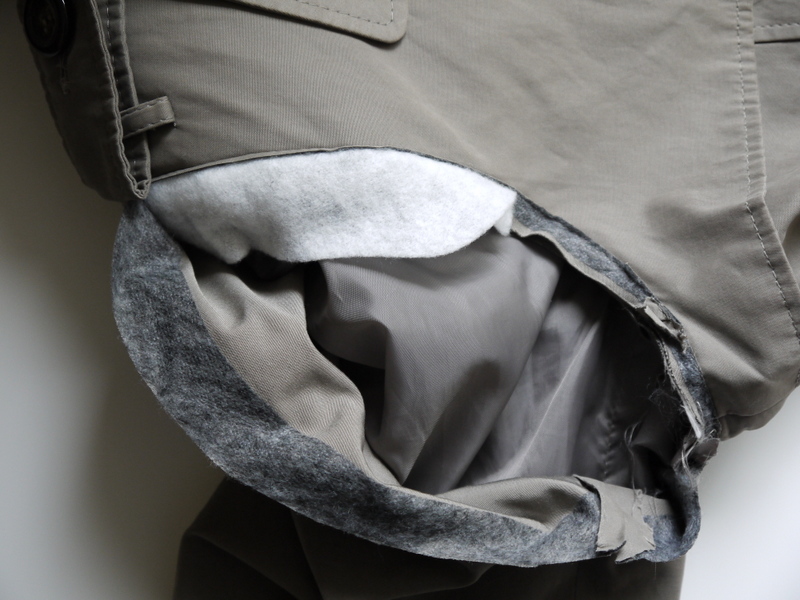
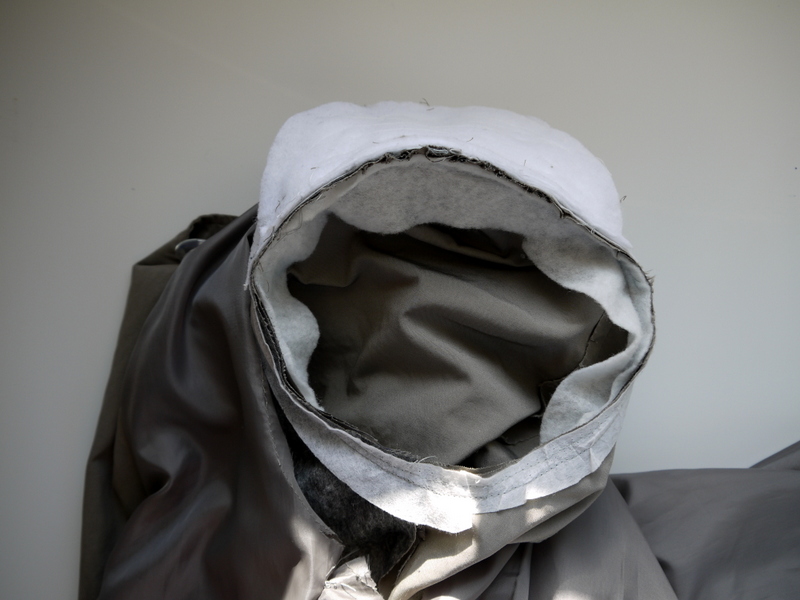
Final task was to tackle the sleeves. This was a big job. I had to psyche myself up with a cup of tea. First, I removed the sleeve seams and all the seams holding the sleeve head. Here’s what the deconstructed sleeve head contained – a shoulder pad, some sewn-in interfacing and some stabilisation (the white fleecy strip).
The shoulders were much too wide for me, so I had to trim a good bit off the armscyes. This meant losing the belt loops from the epaulettes.
My new sleeves were going to be bracelet length – another new feminine feature. I wanted to keep the cuffs with the button detail on, so that meant cutting some off the top. I marked 8cm down from the highest point and the lowest point (less seam allowance) and joined the two points with a curve, following the rough shape of the original curve. I did the same on the back, but separately as the curves are different.
I basted on the reclaimed sewn-in interfacing, trimming it to the new shape where necessary. I used gathering stitches on about the top third of my sleeves in order to set them in. My new sleeve shape was far too big for the armscye curves, so the gathered section forms a nice little puff sleeve effect – yes, another feminine detail.
I added the stabiliser and the shoulder pad afterwards.
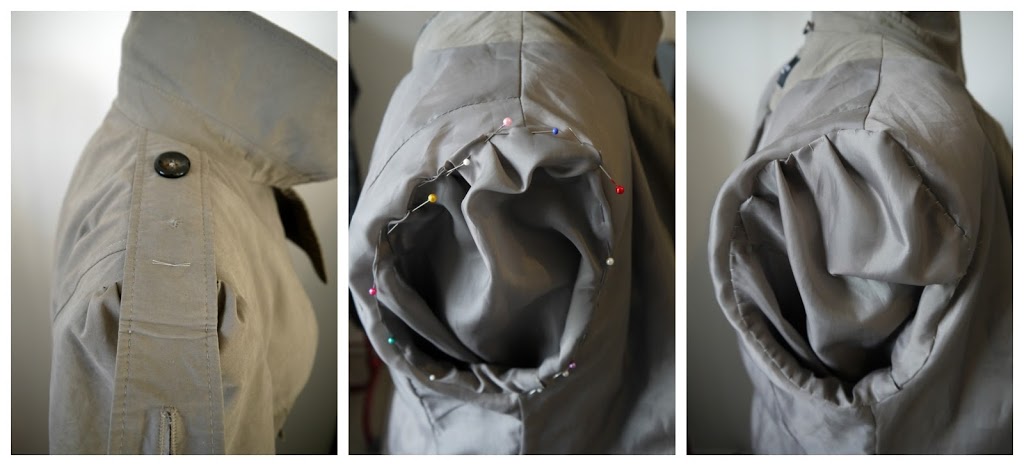
The epaulettes were now too long, as the shoulder had come in about an inch. I moved the button in by a suitable amount then refolded the strips. I added a stitch at the new fold point to help keep it in place. I didn’t bother with re-adding the old belt loops as it was rather fiddly.
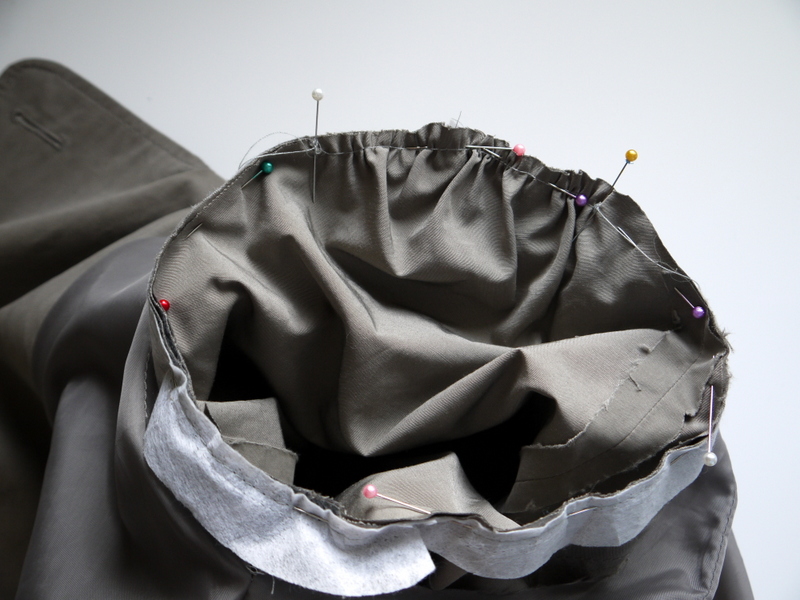
Last thing to do was to make the lining match up. (Above middle) I pinned the sleeve lining to the body lining, incorporating small pleats around the sleeve head to take up the excess fabric. Then I patiently hand-stitched it together. (Above right).
Here’s the final coat, which I am rather happy with! As a result of taking it in at the sides, the white paint stain has been vastly reduced but is still visible; I don’t think it’s all that noticeable though. My flounce is a bit bigger than the inspiration picture but I like it!
Overall, I really enjoyed this challenge! I was very excited to see what Portia had sent me and delighted when it arrived. It was great to be pushed out of my comfort zone a little by not having full control over the original garment. To be honest, I don’t think I would have chosen this coat if I found it myself – the paint stain and the lack of belt would probably have been deal-breakers – but that said, I am really pleased with how it turned out. Trench coats, after all, never go out of style.
Thanks for organising, Portia!
Sally of Charity Shop ChicExcuse me while I pick my jaw up off the floor! Such a dramatic transformation! Even more astounding when you consider that the base garment cost a mere £1 and the genuine article retails for just under £1000!! Now if THAT’s not a good reason to ransack your local charity shop and get refashioning, Well, I don’t know what is!
One of the things I love about Sally’s refashions is how ambitious they are. Her technical skills are pretty awesome. I knew that whatever I sent Sally had to be a challenge otherwise she’d end up  all “HA! Is THAT the best you can do?!” Am I right, or am I right Sally?! (For the record, Sally volunteered to send me MY mystery garment as part of this challenge. Let me tell you…I’m pretty sure that’s what she was thinking when she selected it! I seriously had my work cut out there!)
The fabric of this coat was that really velvety gaberdine. So it felt delicious. I knew it would also be really massive on Sally, which would give her lots to work with and some spare fabric to address the belt issue if she so wished. I confess, I missed the stain on the back! Sorry Sally! In any case, Sally was more than equal to this challenge. A stunning transformation from “fugly” to fashion forward. A total triumph!